…und wieder zusammenbaut.
Zum nachmachen nur für wirkliche Bastler (Garantie fürs gelingen kann ich keine übernehmen). Aber vielleicht auch für alle interessant, die schon mal in das Innenleben ihres Geräts schauen wollten, aber sich nicht trauten.
Nachsatz: Diese Anleitung sollte großteils auch für das Tel.Me. T919 funktionieren.
Hier findet sich eine gut bebilderte teilweise Anleitung um das Tel.Me. T919i zu zerlegen und wieder zusammenzubauen. Vorerst nur in englischer Sprache. Eine Übersetzung ist Willkommen.
Warnung: Diese “Anleitung” ist nur für gute Bastler, für Schäden ist man selbst verantwortlich.
Purpose and scope
The purpose of this document is the specification of the T919i assembly process.
Step 1
Separate the populated PCB´s from the panel. Take care, that no excess material remains at the edges of the PCB. Excess material at the edges might cause gaps in the plastic housing and SIM contact problems.
Step 2
Perform the board test.
Step 3
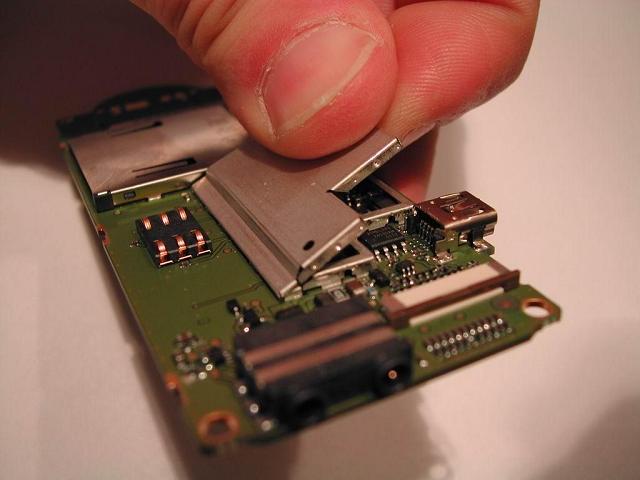
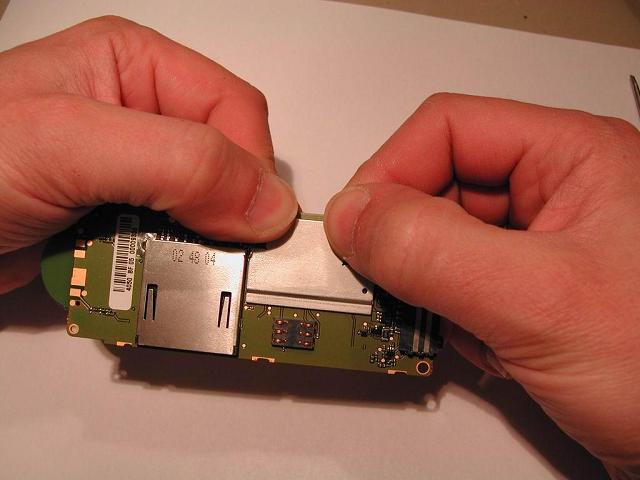
Assemble the shield covers. Assembly of the shield covers is a task which is recommended to be done by the operator of the board tester. Shield cover BB2 and shield cover RF do not need any special proceedure. Bevore clamping the shield cover BB1 to the shield frame, it is necessary to bring the hooks on the wide side of the cover into the correct position – see picture below.
Step 4
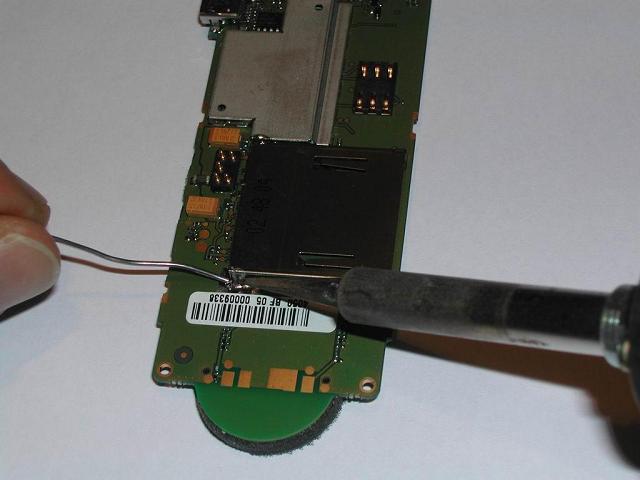
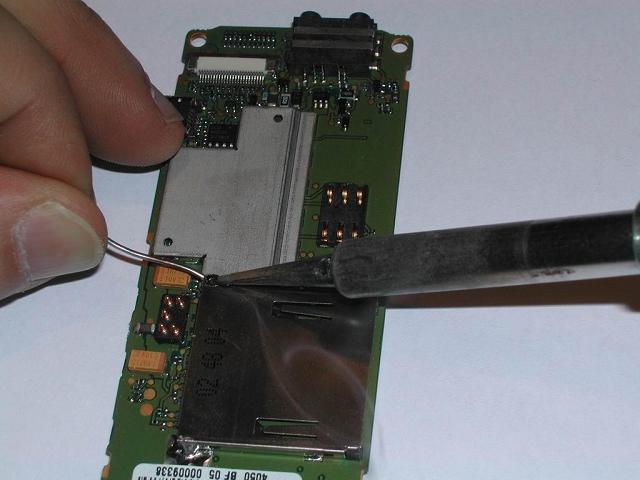
Solder the MMC shield to ground. The length of each solder joint needs to be min. 3mm. If this shield is not grounded correctly, a software crash will result when there is an incoming call while listening to MP3 or when using MP3 ringtones (lack of RF immunity of some MMC/SD cards). This step is a task which is recommended to be done by the operator of the board tester.
Step 5
Glue the self adhesive speaker foam to the PCB. This step is a task which is recommended to be done by the operator of the board tester.
Step 6
Connect the display to the main PCB: First gently connect the flexprint to the 40-PIN connector. Do not use excessive force. Then position the 3 clips at the side which is closer to the connector. Finally clamp the 3 clips on the opposite side of the PCB. This step is a task which is recommended to be done by the operator of the board tester.
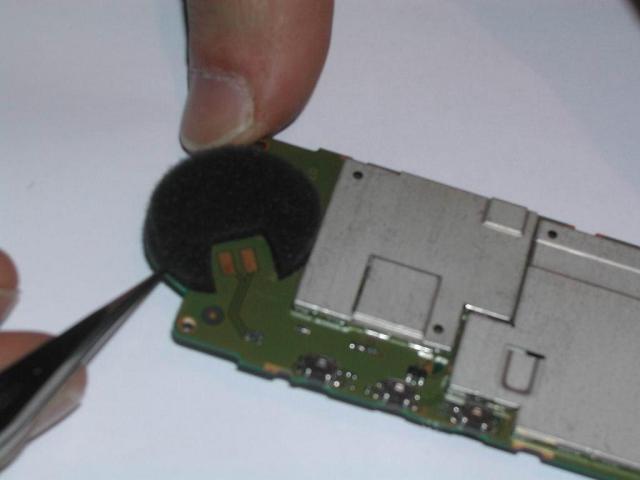
Step 7
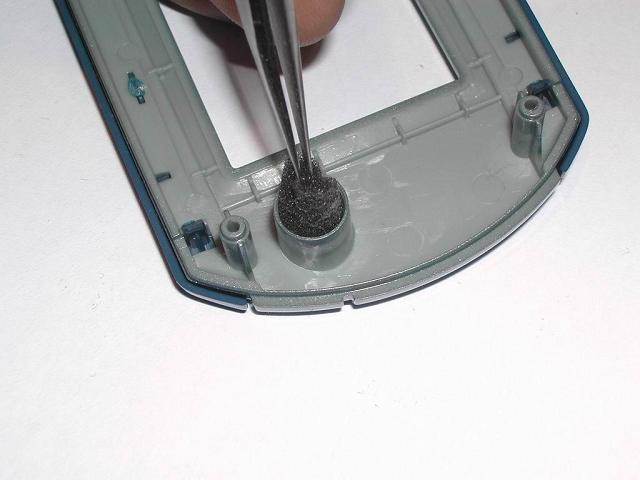
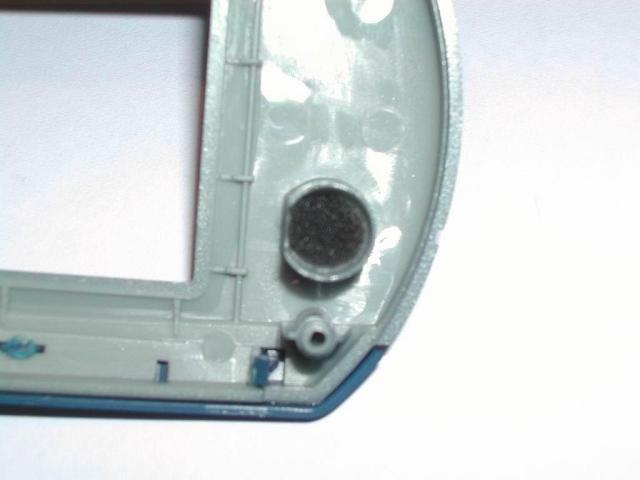
Insert the microphone foam.
Step 8
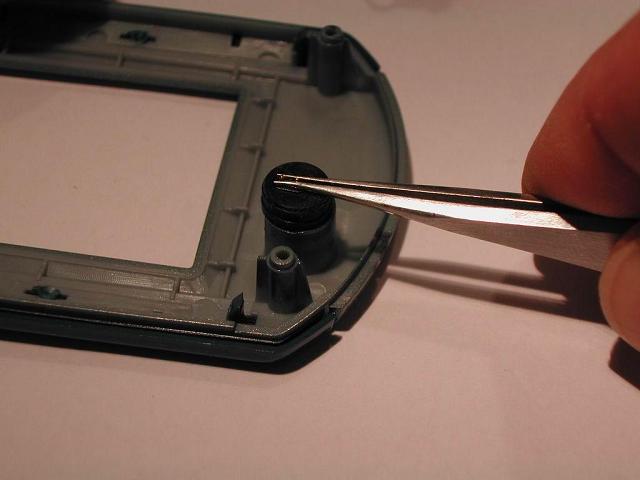
Insert the microphone.
Step 9
Insert the speaker gasket.
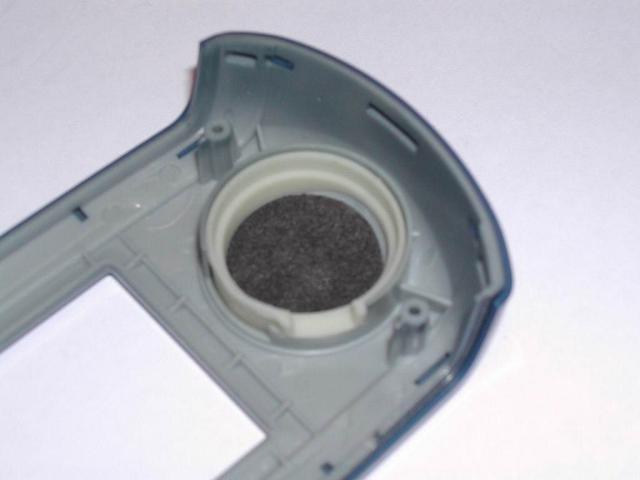
Step 10
Insert the speaker.
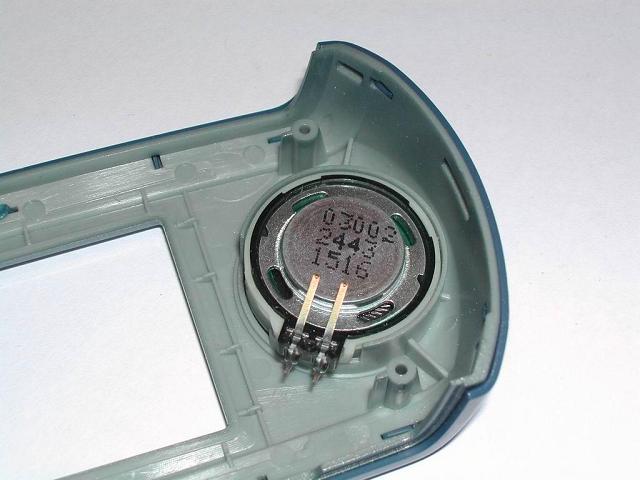
Step 11
Fix the PCB at the front case. The torque of the screwdriver has to be set to 19Nm. Use two 8×1,8mm T6plus screws.
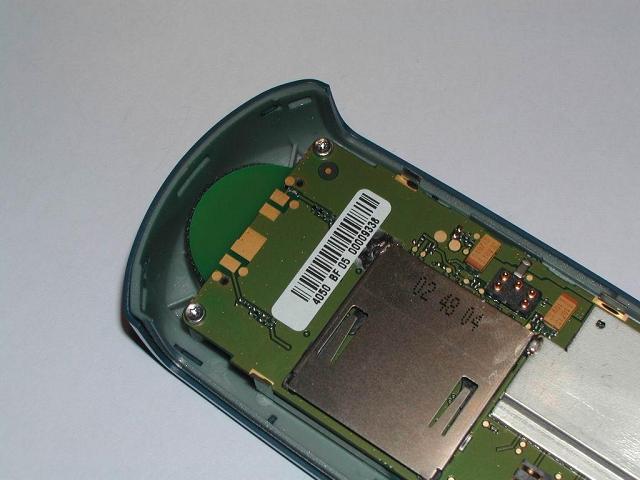
Step 12
Connect the camera to the ZIF connector. Connect the antenna.
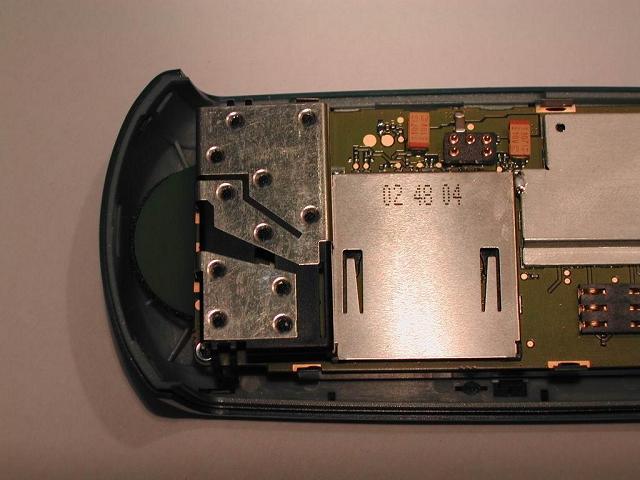
Step 13
Place the vibra motor.
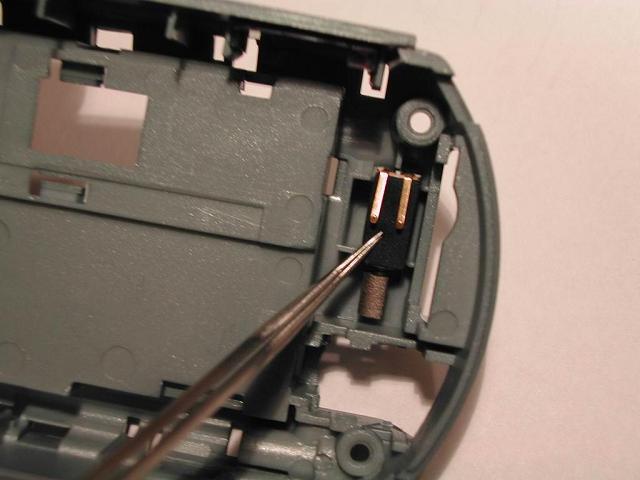
Step 14
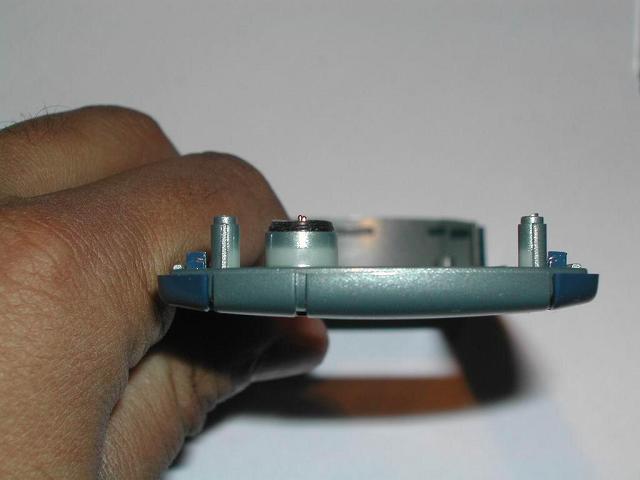
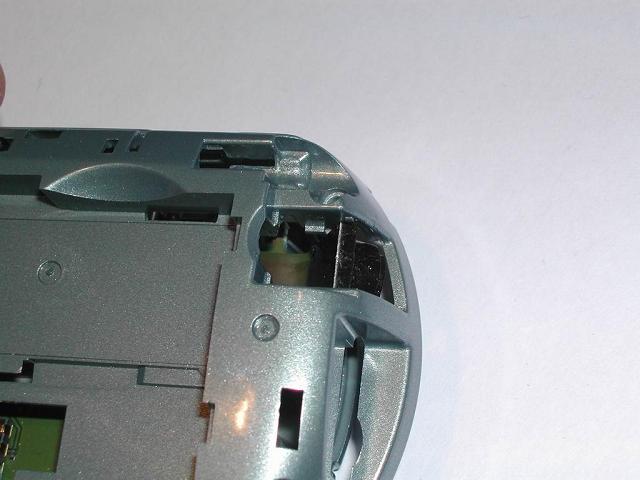
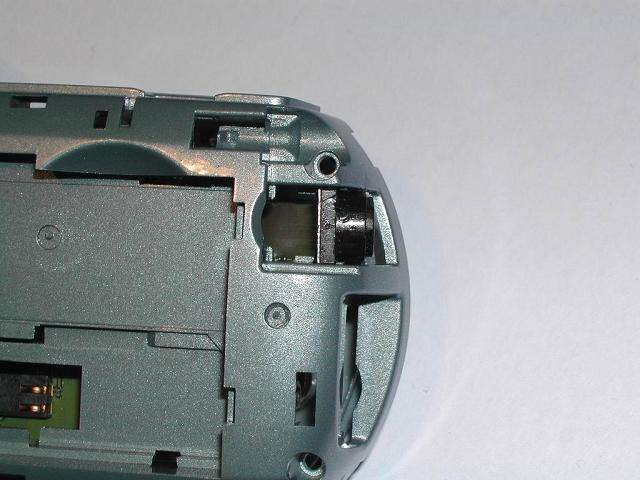
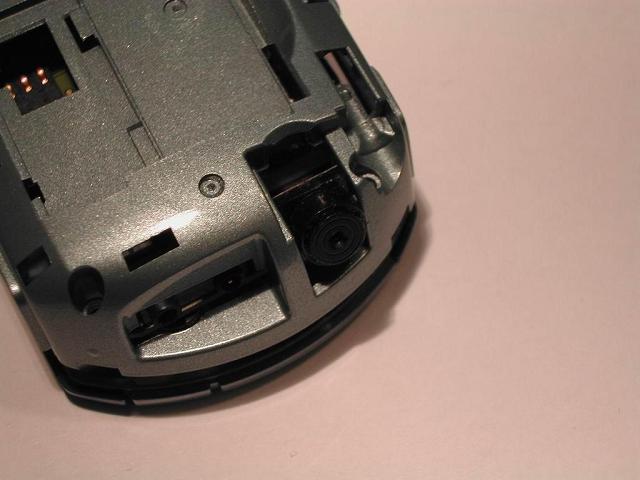
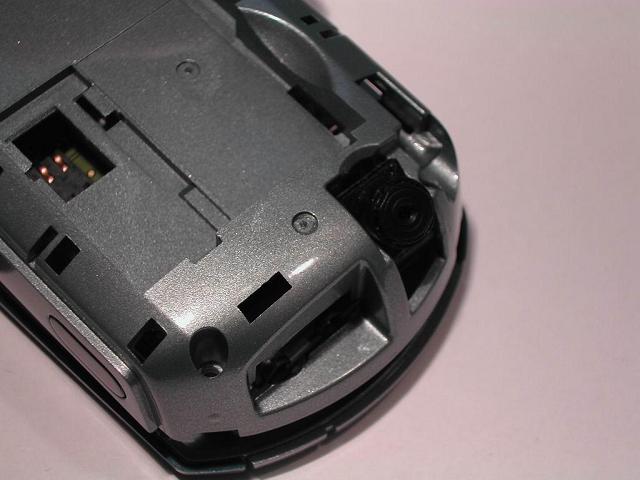
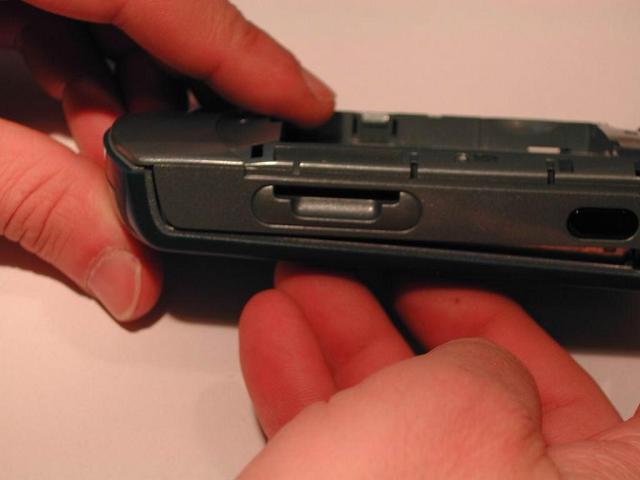
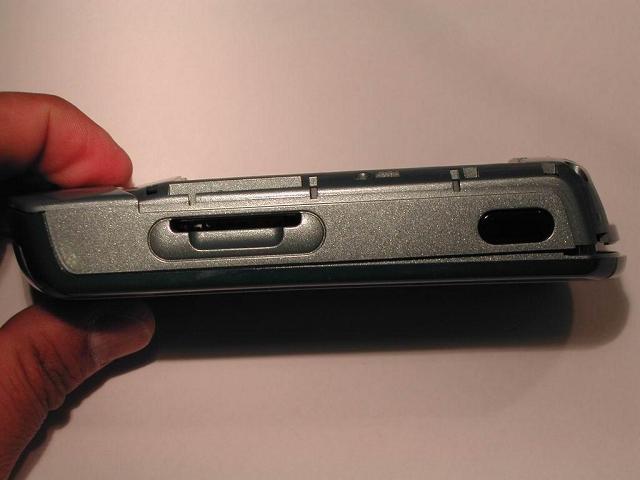
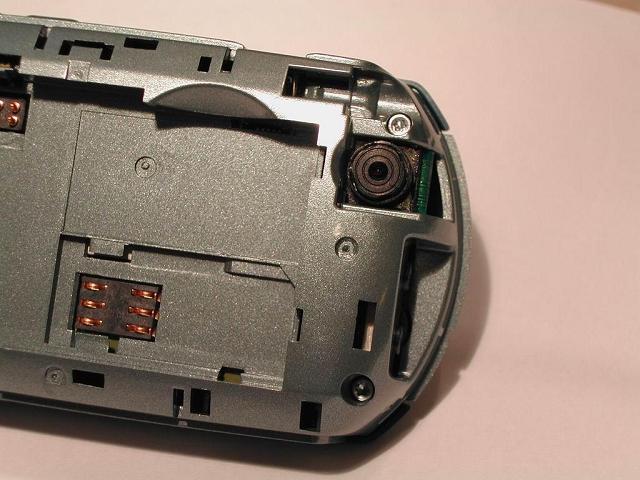
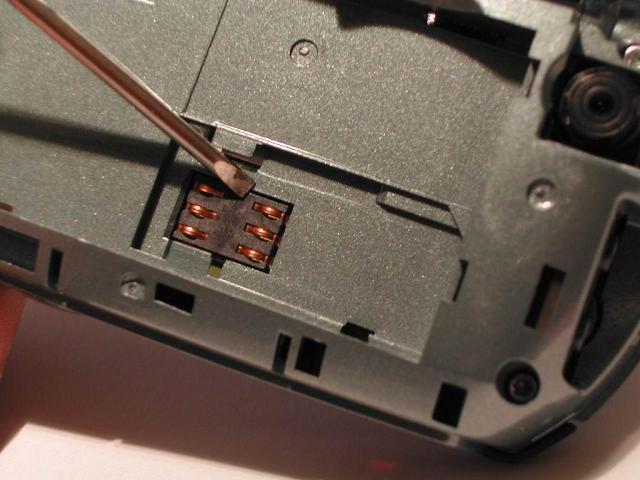
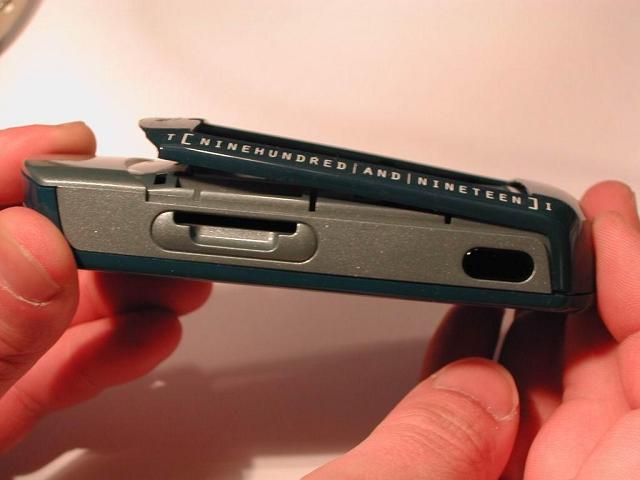
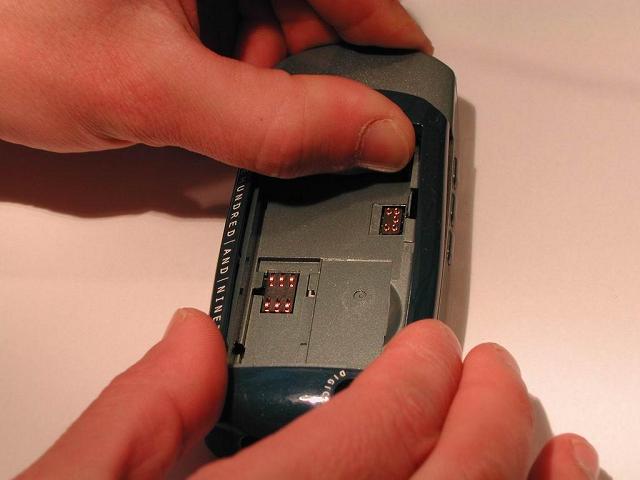
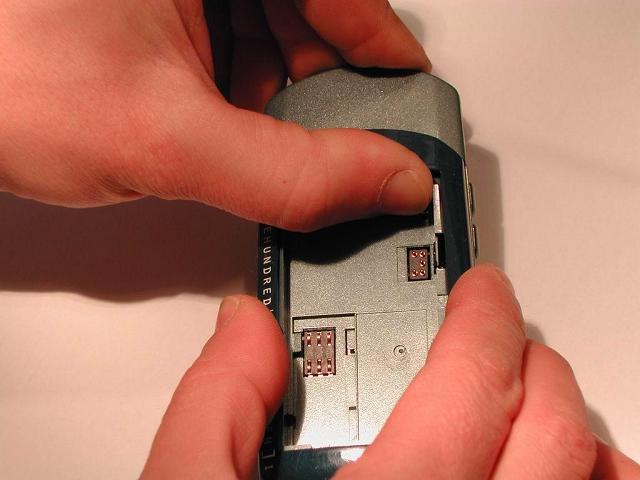
Position the back case. Follow the procedures on the fotos. The camera has to be positioned gently in order to avoid damage of the flexprint. The torque of the screwdriver has to be set to 19Nm. Use two 8×1,8mm T6plus screws.
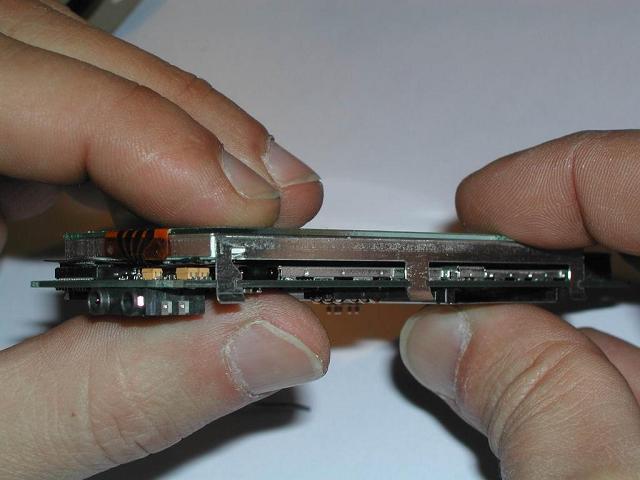
Check that the SIM connector is in line with the surrounding
plastics. In case of a step, SIM contact problems will occur. Reasons
are: shield cover BB1 not correctly clamped to the shield frame BB1,
solder on top of shield cover BB1 after soldering the MMC shield or
excess material at the edges of the PCB after de-panelisation.
Step 15
Perform the final test
Step 16
Assemble the back frame.
Step 17
Assemble battery cover and stylus.

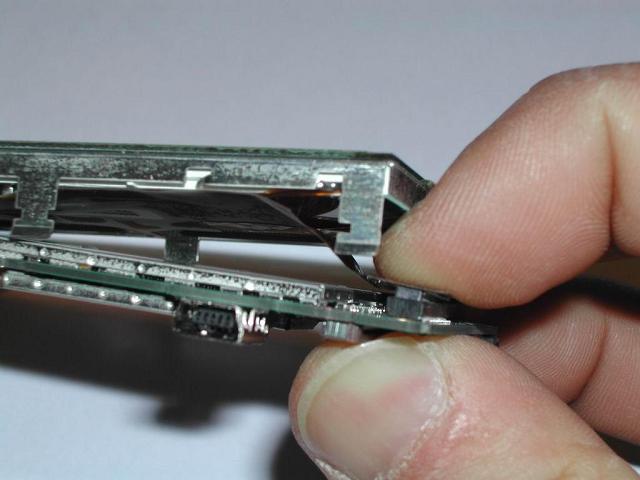
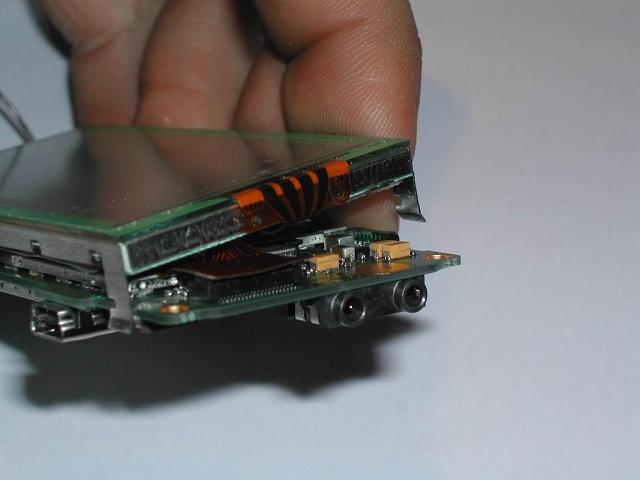
gracias
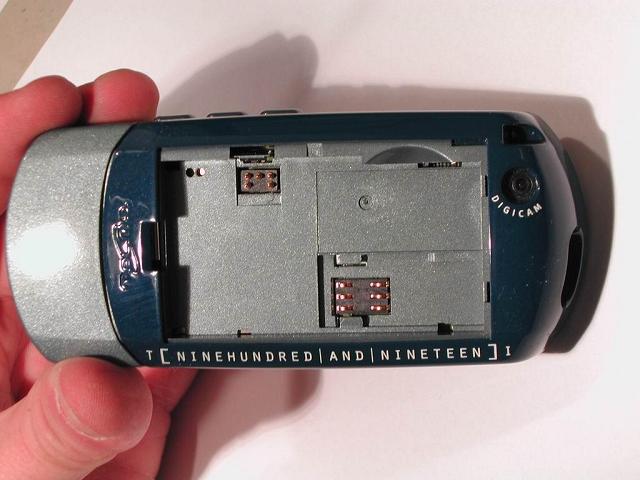
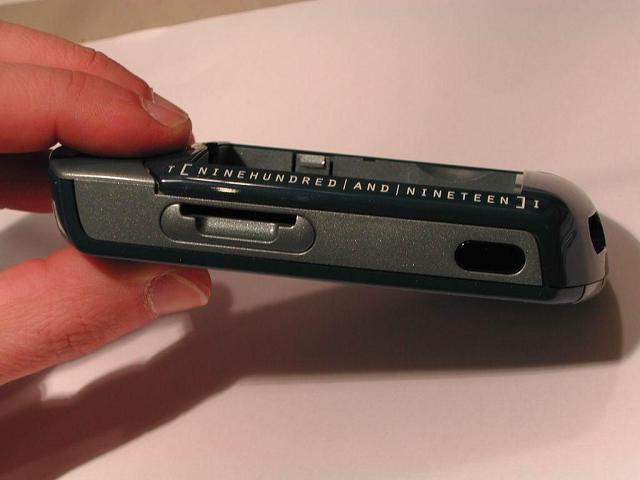
Nachfolgend drei Fotos von den "Innereien" des Tel.Me. T919. Mit Dank an t-Seite Leser Werner, der sein T919 mal geöffnet hat. Vorsicht für Nachahmer, es gibt keine Garantie, dass ihr das Gerät wieder zusammenstecken könnt!Weitere Innenansicht
Mein Tel.Me. T919 gibt leider kein „Lebenszeichen“ mehr von sich.
Hat noch jemand, evtl. eine Service-Sofware oder andere Hilfsmittel, die eine Reparatur ermöglichen könnten?
Vielen Dank für die Hilfe!
Könntest du ein bisschen genauer sagen, was „kein Lebenszeichen“ bedeutet. Lässt es sich nicht einschalten,…?
Servicestellen gibt es leider nicht mehr. Aber vielleicht finden wir ein, zwei Tricks um dein T919 nochmals „wiederzubeleben“. Aber das gelingt nicht immer. Wenn es wirklich kaputt ist, dann bleibt dir leider nichts anderes übrig als dich nach einem Gebraucht-T919 oder nach einer anderen Marke umzusehen…
Klicken für ein größeres BildTechnische DatenDisplay Touchscreen256 x 118 Pixel (=30.208 Pixel)32768 FarbenCSTN, transflexivGrösse: 5,6 x 12,6 x 2,4 cmGewicht: 115 gAkku: 900 mAh Li-IonStandby: bis zu 320 h, 240 h ØSprechzeit: bis zu 1
Klar: Trotz neuem Akku lässt sich das handy nicht anschalten. auch ein Ladevorgang findet nicht statt. Der Akku hat volle Sapnnung. Mechanische Beschädigungen oder Verunreinigungen die auf einen Wasserschaden schließen lassen konnte ich nicht entdecken.
Es könnte sein, dass der Akkukontakt nicht korrekt mit dem T919 Stromkontakt verbunden ist. Versuche mal ein Stück Karton etc. so einzuklemmen, dass er absolut fest sitzt.
Wenn das auch nicht hilft, dann bin ich leider auch mit meinem Latein am Ende